Paintable Fronts
Not seeing your signature color in our finished 3DL offering? Our paintable slab and shaker fronts are the perfect match. Superior grade MDF provides a smooth, consistent surface ready for any color under the sun. Prep and paint recommendations below.
How to Prep + Paint Doors: Paint Sprayer
You’ll Need:
- Paint Sprayer
- Sanding Block/Paper/Orbital Sander (180 grit)
- Primer
- Cabinet Grade Paint
- Tack Cloth
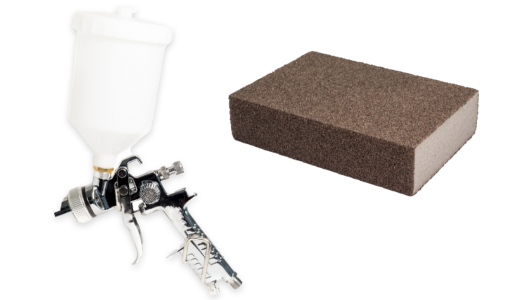
1. Lightly Sand Doors
Before you pick up the paint, you’ll need to lightly sand your doors. Using your 180 grit paper/block/orbital sander, sand the entire door lightly making sure you’re sanding the edges well.
2. Applying Primer
Wipe off any sanding dust from the Fronts using a tack cloth. Now you’re going to apply the 1st coat of primer with your paint sprayer. Make sure you get the sides of the doors good, this is where the most paint absorption will happen. Once dry, very lightly sand the doors again. Use the tack cloth to remove any sanding dust and apply the 2nd coat of primer. Don’t forget to paint the entire door (front, back, and the sides). This is going to seal your door and prevent warping.
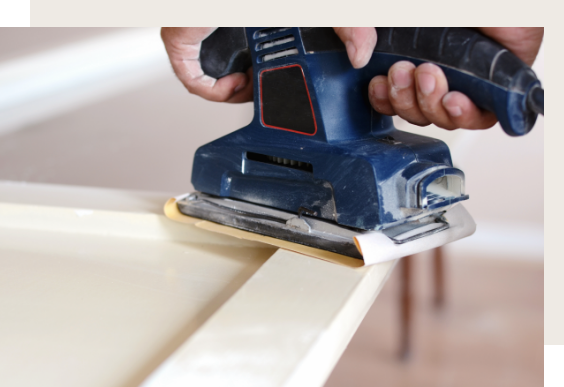
3. Painting Your Doors
Once the second coat of primer is dry, lightly sand doors again. This will ensure a smooth and professional looking finish. Use the tack cloth to remove dust. Ensure that your paint sprayer is clean and free of primer. Now you’re going to spray about 2 coats of cabinet grade paint on your doors, drying, sanding, a dusting in between coats. If paint still looks uneven, give the doors another coat of paint.
Pro Tip
Make sure your last coat of paint is done on the front side of the door or drawer front. This will ensure a smooth finish.
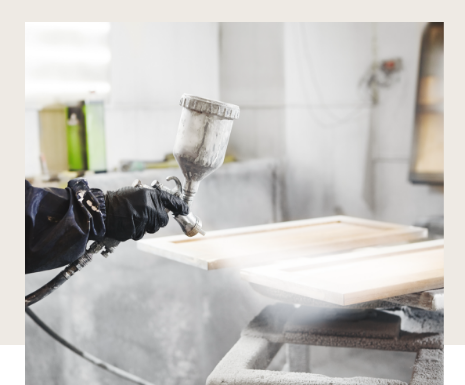
4. Finish Refacing
Now that your doors are dry, you’re ready for the next step. Paint your cabinet boxes! If you’ve already completed this, then it’s time to install your new Fronts!
How to Prep + Paint Doors: Paint Brush
You’ll Need:
- Small Paint Roller
- Paint Brush
- Sanding Block/Paper/Orbital Sander (180 grit)
- Primer
- Cabinet Grade Paint
- Tack Cloth
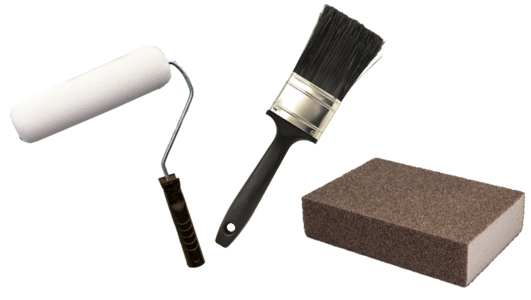
1. Lightly Sand Doors
Before you pick up the paint, you’ll need to lightly sand your doors. Using your 180 grit paper/block/orbital sander, focus on the edges ensuring they are smooth before priming. You won’t have to sand the faces as much.
2. Applying Primer
Wipe off any sanding dust from the Fronts using a tack cloth. Now you’re going to apply the 1st coat of primer with your paint brush. Make sure you get the sides of the doors good, this is where the most paint absorption will happen. Once dry, very lightly sand the doors again. Use the tack cloth to remove any sanding dust and apply the 2nd coat of primer. Don’t forget to paint the entire door (front, back, and the sides). This is going to seal your door and prevent warping.

3. Painting Your Doors
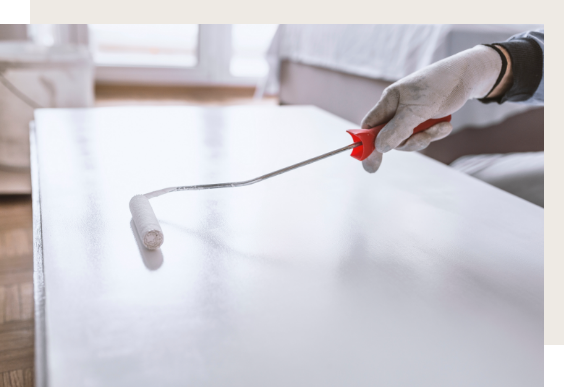
Once the second coat of primer is dry, lightly sand doors again. This will ensure a smooth and professional looking finish. Use the tack cloth to remove dust. Apply the 1st coat of cabinet paint to your doors, you can use a small paint roller to speed the process up and reduce the chance of getting brush marks. A roller works especially well with slab style doors. Allow that 1st coat to dry then lightly sand and dust. If paint still looks uneven, give the doors another coat of paint.
Pro Tip
Make sure your last coat of paint is done on the front side of the door or drawer front. This will ensure a smooth finish.
4. Finish Refacing
Now that your doors are dry, you’re ready for the next step. Paint your cabinet boxes! If you’ve already completed this, then it’s time to install your new Fronts!


